
Introduction and Setting Up
Welcome to the first lesson in this tutorial series covering the basics of rendering graphics!
This lesson will be a quick one hopefully - we're going to look at how to setup and layout your workspace so that you can build and run the code for the rest of the lessons.
Libraries
Before we get into that though, I just want to take a minute to look at the libraries we will be using to build our program, and justify our choice over other similar tools.
OpenGL
In these tutorials, we will be using OpenGL, an open Graphics Library. OpenGL basically serves as a API to draw graphics to our screen in a way that can fully and automatically exploit the power and speed of GPUs. This API is provided by your graphics card driver, so should always be present on any up-to-date desktop computer, and means your code to draw something to the screen will run on pretty much any graphics card without alteration. Its widely known, supported, and kept up-to-date.
The two main alternatives to OpenGL are DirectX and Vulkan.
DirectX is locked to the Windows platform so cross-platform programs are not possible. Meanwhile, an OpenGL program can be run on Windows, Linux and Mac without any changes to the code!
Vulkan is a new graphics API released by the same community which organises OpenGL. While the two APIs perform similar roles, Vulkan is not a replacement for OpenGL. Vulkan provides really low-level raw access to the GPU, while OpenGL leaves a lot of the really low-level stuff up to the GPU driver to perform.
As a result Vulkan programs can be ultra-optimised and so slightly faster, but it is far more complex code-wise, and the speed advantage is unlikely to be worth the extra effort unless you really are chasing after every possible performance gain. For this reason, OpenGL still has it's place, as its much easier and faster to code, and far more beginner friendly. If you are new to graphics, this is the place to start. And if you do decide to switch to Vulkan in the future, many of the concepts learned for OpenGL will directly translate to Vulkan.
SDL
OpenGL provides us with a graphics API, but that's basically it. Therefore we will also be making use of another library called SDL, which is used to perform basic window functions in a cross-platform manner. By this I mean it takes care of creating windows on our desktop, getting user input from the mouse, keyboard, etc. Importantly again it abstracts all of these functions so that your code will run the exact same whether you are running it on Windows, Linux or Mac, without any modifications. It's a very widely used tool, and is what major developers such as Valve are using.
There are various alternatives to SDL, for example GLFW. Both are excellent libraries. However SDL offers slightly more functionality in terms of audio and controller support, and is what I personally have been using for many years, and for that reason is the library we will use in these tutorials.
Installation
To get up and running, we will of course need Python installed, as well as the Python bindings for the SDL and OpenGL libraries.
By default, your Linux distribution will probably already have Python installed, so you don't need to worry about that.
If you want to check, open up a terminal and type python.
If the interpreter opens, you're good to go.
Note that in some distributions released during the transition from Python 2 to Python 3, there may be no "python", but instead explicitly "python2" and "python3".
You can make Python 3 the default by installing a package named python-is-python3 in your package manager by:
|
pysdl2 package, which is a Python wrapper around the underlying C language SDL library.
For OpenGL bindings, we will use the package pyopengl.
Both of these can be installed using:
|
Note that as pysdl2 is just a wrapper around the underlying library, if you install this package through other methods such as pip, you will still need to install the SDL2 library separately through your system's package manager.
Testing our set-up
Before moving on with the lessons, let's perform a quick test that everything is working correctly.
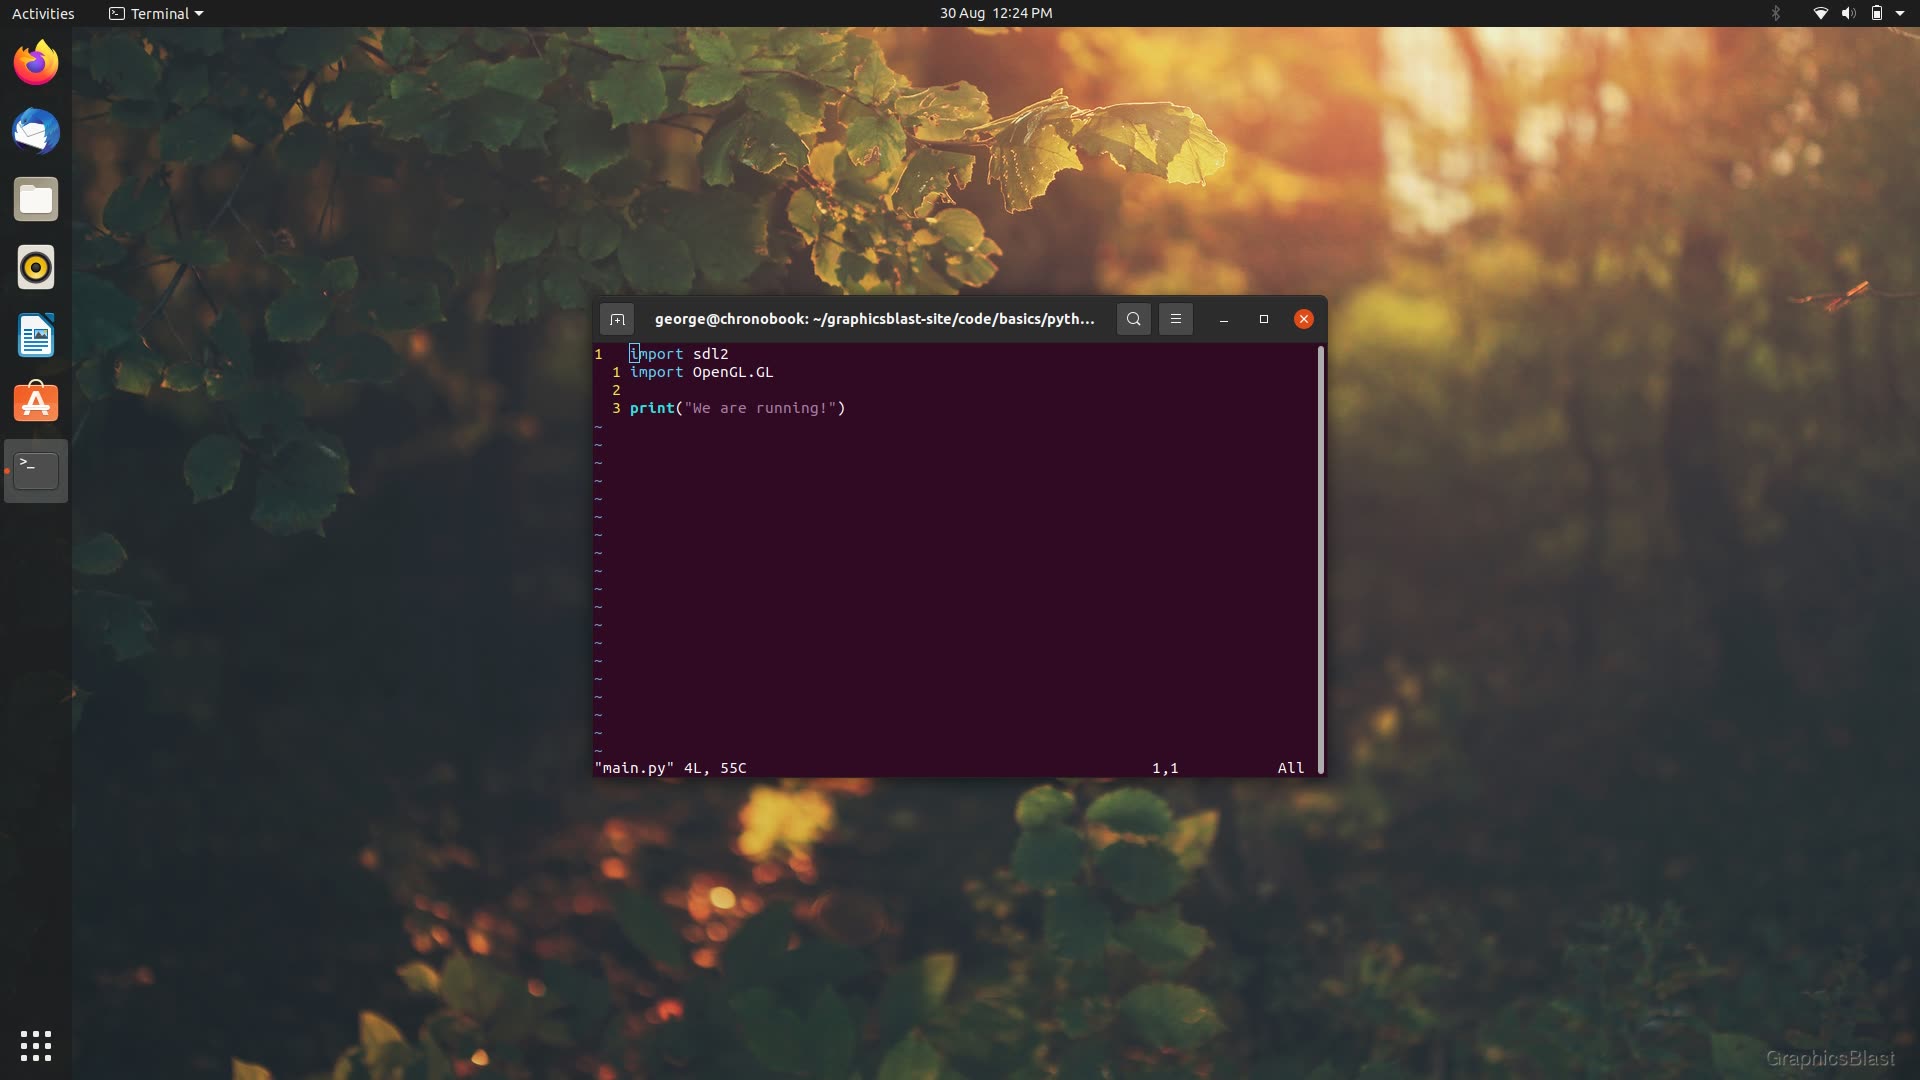
Create a file named main.py, and copy-and-paste the following code into it:
| 1. | |
| 2. | |
| 3. | |
| 4. | |
For now that's it, we just want to check that Python can find and open our libraries OK.
The easiest way to run the code is to open a terminal, go to the correct directory, and then type the command python main.py in.
If any error messages appear while running the code, double check each step from this lessons, and make sure that you have everything installed properly. If you are using a virtual environment tool, that too could also be a source of your error messages.
Otherwise if everything is OK, then you can move onto the next tutorial!