
Lesson 1: Creating a Window
In this lesson, we will take our first step and get a window up on our screen! We'll cover initialising everything properly, making the window display with our desired properties, and making sure the window closes gracefully at the end.
If you have any problems compiling or running this code, please double-check that the test at the end of the previous lesson worked properly!
A note about the general code structure
You should generally keep the def main() function and high-level logic of your programs as simple as possible.
In fact, simple enough to explain right here in a few paragraphs, which will probably help you see why I am laying this tutorial out as I am.
Our main function will start by initialising the program.
It will call an initialise function, and check whether everything started properly or not.
If this failed, there is really not much we can do, so the program will terminate here.
If the initialisation succeeds, our main function will enter a loop. This loop is commonly known as the game-loop or event-loop. Essentially it will continually keep performing three actions very common in general machine operations: input, process, and output.
The input step, as you can probably imagine, involves checking if the user pressed any buttons on the keyboard, moved the mouse, etc. This can also include perhaps less obvious things as well like the user clicking the close button or resizing a window.
Then, the second step, we perform any updates of our variables that we need to do: our processing. This is where we perform any simulations of any ongoing physics, update the positions of moving objects, etc.
Finally, the output step, which is primarily drawing graphics to our window, but can also be playing audio for example.
The input function can trigger us to break out of this loop, perhaps if the escape key is pressed. Regardless of what the trigger was, if our program has broken out of this loop, it is our cue to close the program. Therefore we end our main function with a call to a close function, which frees any memory, etc.
Anyway that's the general idea! Our program will call an initialise function, then keep checking the input, updating itself, and drawing. When we need to close, our program will break out of this loop and then call a function to perform these actions.
Let's begin!
Imports
Open your favourite text editor and create a file called main.py in your workspace.
Inside, we'll start our program of course by importing PySDL and PyOpenGL, as well as declaring a few variables we will use to interact with our window:
| 1. | |
| 2. | |
| 3. | |
| 4. | |
| 5. | |
| 6. | |
| 7. | |
| 8. | |
| 9. | |
As PySDL is a pretty thin wrapper on top of the underlying SDL library, sometimes when passing data back and forth, we need to use the underlying C variable types.
As a result, we need to also import the ctypes library.
The two variables declared here, window and context, are surprisingly enough for keeping a handle to our window on screen, and for the OpenGL context we will use.
You can think of a context as a running OpenGL "instance".
We also declare two more variables, windowWidth and windowHeight, which we will use to set the size of the window that we will create, measured in pixels.
It's useful to have these explicitly declared so we can use them later, for example to calculate the aspect ratio of our window.
Initialisation
The first function we'll write will be...the initialisation code for our program!
We will define a function called init, which will return an integer indicating whether it succeeded to start the program properly or not.
We'll follow the general coding pattern where returning a zero indicates success. Any non-zero value returned is used to indicate an error, however I tend to prefer returning "-1" to to indicate an error, as "1" can be a little ambiguous.
Our init function starts like this:
| 11. | |
| 12. | |
| 13. | |
| 14. | |
| 15. | |
| 16. | |
| 17. | |
| 18. | |
We start by declaring the window and context variables as global so that we can set them here and use them later in other functions.
Then the first thing our initialisation code does is make a call to sdl2.SDL_Init().
This call tells SDL to start and initialise all its submodules (eg. one for handling audio, graphics, even CD-ROMs, if you still remember those).
It is possible just to initialise only certain modules if you desire a more lean program, but we'll keep it simple for now.
This call returns zero on success, so we perform a check on the return value to see if anything bad happened. If so, there is not much we can do about it, so we print an error message, and return straight away; there's no point carrying on.
If SDL did initialise correctly, our code can move on:
| 16. | |
| 17. | |
| 18. | |
| 19. | |
| 20. | |
| 21. | |
| 22. | |
With SDL started, we need to tell it what version of OpenGL we want before we open the window. In this case, I ask for version 4.6, the most current version as of writing (2023). I want to stress the word "want", because this is just a request. The GPU driver will try give you the version you ask for, but if the code is running on an older system that doesn't support it, you might receive a different version. We'll perform a check of exactly which OpenGL version we got later on.
Besides setting the OpenGL version, we also set the OpenGL profile. The profile can be one of two possible values, either a core profile, or a compatibility profile. The compatibility profile is essentially for running older OpenGL functions on a new version. However, as we are writing new code, we will go for the core profile.
With the OpenGL version set (or at least requested!), let's create our window:
| 20. | |
| 21. | |
| 22. | |
| 23. | |
| 24. | |
| 25. | |
| 26. | |
| 27. | |
We make a call to sdl2.SDL_CreateWindow, and we get to define a few properties for our window.
The first parameter sets the window title, usually displayed at the top of the window.
The next two parameters define the x and y coordinates for where the window is positioned on the screen.
The position is in pixels from the top left of the screen, passed as integers.
So if we passed 0, 0, in then the top left of the window would be positioned in the top left of the screen.
Here, we've used the special values of sdl2.SDL_WINDOWPOS_UNDEFINED for the x and y coordinates, meaning we don't care, and that it's up to the operating system to choose where to place the window on the screen.
One other option worth mentioning here is that you can pass sdl2.SDL_WINDOWPOS_CENTERED for the x and y coordinates, to put the window right in the middle of the screen.
TIP: But what if I have multiple displays? The x and y coordinate system is a global system for all screens. So if your monitors are configured besides each other, then if the x value you provide is greater than the width of the first monitor, it will be relative to the second. There is a very nice description of how to control creating the window on specific screens (if they exist) on Stack Overflow here.
The next two parameters set the size of the window we want to create, in pixels. We pass in the variables that we created earlier.
The final parameter is for setting any special window flags. Multiple flags can be used at once by putting a bitwise OR ("|") between them. In this case we prompt SDL that we want our window to be configured for use with OpenGL, and also that we want the window to be resizeable. Here are some other commonly used flags that you might find useful:
SDL_WINDOW_FULLSCREEN- the window will run fullscreen, with the width and height parameters used as the screen resolutionSDL_WINDOW_FULLSCREEN_DESKTOP- the window will run fullscreen, but will use the preexisting desktop screen resolution rather than the width and height fieldsSDL_WINDOW_BORDERLESS- no border or buttons around the window, especially useful for splash screens!SDL_WINDOW_RESIZABLE- the window can be resized by the user, usually by dragging the borderSDL_WINDOW_INPUT_GRABBED- normally if you move your mouse outside of a window, the window stops receiving information about any mouse movement. This flag prevents the mouse from leaving the window, which can be useful in first-person shooters games for example, so that the user can continually turn in one direction without risking the mouse leaving the window
I would encourage you to play about with some of these and see the effect it has on our window. There are other flags too, but those listed above are generally the most important. You can find a full list here at the SDL wiki.
Note that some online tutorials suggest using the flag SDL_WINDOW_SHOWN to ensure the window is visible when it starts.
According to the SDL documentation, it is already assumed that a window should be visible by default, and therefore this flag is unnecessary.
I think it's worth mentioning at this point that these options for window creation are again requests. The nice thing about SDL is that this code will compile and run on many different operating systems without changes to the code, however each system works slightly differently. SDL will try its best to give you what you ask for, and you will almost certainly get it, but there is no guarantee and the operating system might just decide to place your window where it likes or force some minimum or maximum window sizes on you.
After the call to SDL_CreateWindow, SDL returns a handle to the window created.
If a problem occurred with the creation of the window, the handle will evaluate to false in boolean comparisons.
Therefore we can then perform a check to see if the window was actually created or not, and if not print an error message and quit.
If everything went OK, we now have a window on screen. Next we'll get OpenGL up and running:
| 25. | |
| 26. | |
| 27. | |
| 28. | |
| 29. | |
| 30. | |
| 31. | |
| 32. | |
Fortunately, this is quite easy! We make a call to SDL to create an OpenGL context, giving it the window that it will be used with, and it will take care of the rest. We only need to perform a test that this actually worked.
Now, at this point, we have all our libraries initialised properly, and a window on screen.
We can now perform that check of which version OpenGL we were given, before finishing up our init function:
| 30. | |
| 31. | |
| 32. | |
| 33. | |
| 34. | |
| 35. | |
| 36. | |
| 37. | |
| 38. | |
| 39. | |
| 40. | |
| 41. | |
| 42. | |
To do this, the underlying SDL library requires passing an integer in, and telling SDL which variable you want it to set that integer to. This style of code is a little nasty, but fortunately it's not something we'll have to deal with much in the future. It's a consequence of the fact that in SDL, the return values of the functions are reserved for indicating whether the function actually worked or not. We use ctypes to create a pair of integers in the same form as the underlying C language, pass in pointers to them, and ask SDL to fill it with the major and minor versions of OpenGL that we received.
As these tutorials have been written to show you modern techniques, we will need a minimum OpenGL version of at least 4.5. This shouldn't be too problematic though, as this version should still work on hardware that is now over a decade old!
The final line here prints the full OpenGL version currently in use, which generally includes slightly more debug information than simply the major and minor version number. This may be useful for you if later on you want to see which features are available on your machine or for diagnosing problems, but if not you can remove it.
We can now finish off our function:
| 40. | |
| 41. | |
| 42. | |
| 43. | |
| 44. | |
We conclude by setting OpenGL's glClearColor variable.
Every time we draw to our window, we want to make sure we are drawing to a blank canvas beforehand.
This function defines what the 'blank' canvas colour is for our window, and in this case we set it to a relaxing blue colour.
Again, feel free to play about with this if your style doesn't match mine!
These parameters should be floating point numbers between zero and one, and correspond to the red, green, blue and alpha (transparency) channels that we will blank our window to.
For example, (0.0, 1.0, 0.0, 1.0) will set the red component to zero, the green component to one, and the blue component to zero, and alpha to one, so this will set the blank canvas to be an opaque shade of green.
The alpha value isn't exactly like a transparency property here. If the alpha value was not set to one, the RGB values would still make the blank canvas be green, as the alpha value is only used when performing blending. However the topic of blending is a little ahead of us right now, we'll cover it in a later tutorial.
If our program has reached this point, then everything in our init function has completed without issue, so we can return zero to indicate the we have successfully initialised our program.
Terminating
A good coding habit that hopefully you're already of aware of is that whenever you create something, you should immediately afterwards plan its destruction.
Let's write the close function of our program.
Fortunately, this is much simpler:
| 46. | |
| 47. | |
| 48. | |
| 49. | |
| 50. | |
To make sure all the memory is freed correctly, the order of this function should in general be the reverse of the order that objects were created in in the init function.
We didn't allocate any memory ourselves, so for now this function just closes all the libraries we initialised.
The OpenGL context was created last, so we start with closing that first. The window also needs to be closed before our program terminates, and then SDL library itself should be closed.
Input, Process, Output
To keep this lesson reasonably short, I'm not going to define a full game loop in this lesson. We'll do that in the next lesson. Instead, we will define a trivial draw function which we will just call once before quitting, so that we can see our window working:
| 52. | |
| 53. | |
| 54. | |
| 55. | |
We tell OpenGL to clear it's colour buffer and depth buffer using GL.glClear.
Clearing the colour buffer means resetting all the pixels to the 'blank' colour we defined before, so nothing from any previous draw calls can sneak into our new render.
The colour buffer contains the red, green and blue (RGB) information for each pixel in our window, and similarly the depth buffer contains information about how far away that pixel is from the camera in 3D space, which is important for making sure that objects which are closer to the camera are always drawn on top of objects further away, so we clear this buffer too.
We then make a call to SDL_GL_SwapWindow().
This function takes the buffer OpenGL has been rendering to (now blue from the glClear call) and swaps it with the window's buffer, effectively making our rendered image appear on the window on screen.
The reason this step is necessary is that OpenGL does not draw directly to our window. If it did, our program may be halfway through drawing the scene when a screen refresh occurs. This would create all sorts of nasty artefacts visible to the user as the state of drawing would be undetermined at any given moment.
Therefore instead, OpenGL draws to a non-visible buffer, and when our code has finished rendering the scene, we swap buffers with the window. The window displays the complete rendered image, and OpenGL can then begin rendering the next frame to the old buffer which was previously being displayed by the window. Should a screen refresh happen, the buffer in the window, and therefore visible to users, will always be fully rendered. This technique is known as double buffering and explains the presence of the word "swap" in the function name.
Main function
With a trivial draw function in place, we can define a main function to call all the functions we've just defined in the right order:
| 57. | |
| 58. | |
| 59. | |
| 60. | |
| 61. | |
| 62. | |
| 63. | |
| 64. | |
| 65. | |
| 66. | |
| 67. | |
| 68. | |
| 69. | |
| 70. | |
Our program starts by making a call to the initialisation function. If it returns non-zero because something failed, then we quit, else the code will continue.
We make a call to our draw function, which will blank our window to a blue colour, and then wait for two seconds. I've imported the time library here rather than globally as in the next lesson we'll be replacing this with a proper game-loop, so these two lines are only temporary. Finally, our program closes everything and exits.
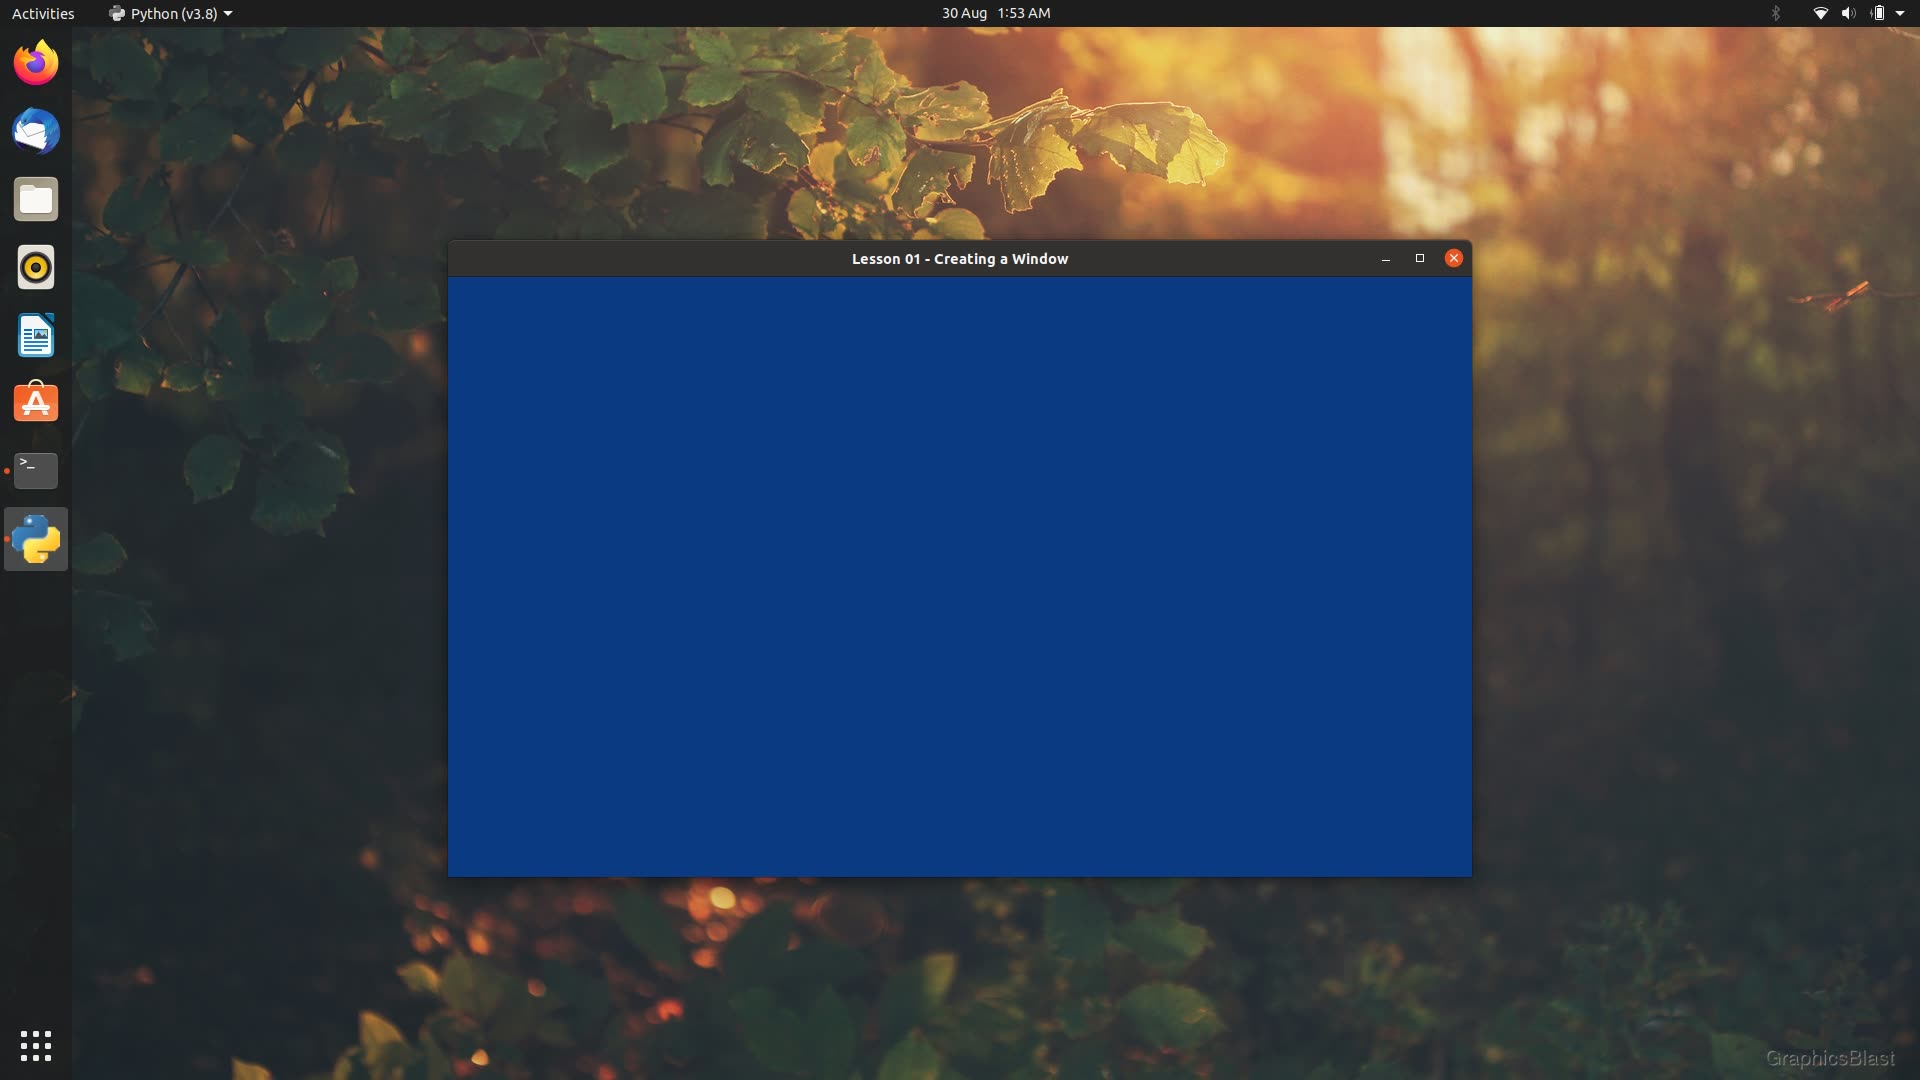
And that's our first SDL OpenGL program finished! Run your code using the same process as the last lesson, and you should see a nice blue window appear on screen, and close itself after two seconds.
Again, if you have any troubles running the code, it's very likely an issue with either the libraries installed - double check the previous lesson!