
Lesson 1: Creating a Canvas
In this lesson, we will take our first step and get a WebGL-powered page running in our browser! We'll add a canvas element to our page, and then perform some basic initialisation code required to get WebGL running.
If you have any problems running this code, don't forget to double-check the steps from the previous lessons, as this code builds directly on it. You can always download my code for this lesson at the bottom of page, see if that works, and then compare it to your version.
Creating a Canvas
The first change we'll need to make is to actually add an HTML element to our page that we can draw to.
The HTML spec has an element called canvas for exactly this purpose.
It has parameters to set the width and height of the canvas on the page, and otherwise behaves exactly like any other HTML element.
But a canvas gives us a space on our page which JavaScript can directly draw onto.
There are actually several ways that JavaScript can draw to a canvas. For example there is a light-weight API in JavaScript for drawing basic shapes, text and that sort of thing to a canvas. So a canvas element is not necessarily tied to WebGL rendering, although in our case it will be.
Let's modify our index.html file from the previous lesson and add a nice big canvas to the body of the page:
| 1. | <!DOCTYPE html> |
| 2. | <html lang="en"> |
| 3. | <head> |
| 4. | <title>Lesson 1 - Creating a Canvas</title> |
| 5. | <meta charset="UTF-8"> |
| 6. | <meta name="viewport" content="width=device-width, initial-scale=1.0"> |
| 7. | |
| 8. | <link rel="stylesheet" type="text/css" href="style.css"> |
| 9. | <script type="text/javascript" src="main.js"></script> |
| 10. | </head> |
| 11. | |
| 12. | <body onload="initialise();"> |
| + 13. | |
| 14. | </body> |
| 15. | </html> |
Our canvas includes an ID property, so we can unambiguously reference it from our JavaScript. We also include a tab index for the canvas, which is required to bind event handlers directly to the canvas, which we'll be doing in the next tutorial.
Note that these days it is strongly recommended that all tab index values are either 0 for automatic tab ordering, or -1 to avoid being able to tab to the element.
Manually setting the index (ie. using positive values) is considered to be bad practice due to the possibility of non-sequential ordering of page elements.
Also worth noting here is that unlike some other HTML elements, a canvas tag must be followed by a second closing tag, rather than just having a single tag with a slash at the end. The reason for this is that it is expected that between the two tags you will add some text, which will be displayed in (very) old browsers or where JavaScript has been disabled.
This is great for for accessibility, and you can add a polite message asking users to ensure JavaScript is turned on here, as it will only be displayed if the canvas cannot be created. For brevity however, I have left my blank.
A final point about our tag here is about the sizing. I'm sure you've already guessed that the width and height parameters are in pixels, but why do it like this? Shouldn't elements be sized with CSS?
Well, they actually control two subtly different 'sizes' of the canvas. Setting the size as we have on the canvas creates a texture which is 1024x600 pixels big that will be rendered to. If we then apply sizing with CSS on top of that, the texture will be scaled and/or distorted to match the CSS request after it has been rendered at 1024x600.
That's not to say that you shouldn't use CSS on canvases at all, but just to be aware of what's happening.
Adding Some Style
While we aren't using CSS to control the size of our canvas, we will add some to control it's position on our page.
For stylistic reasons, I've centred everything on our page (using the text-align property), which will include the canvas.
I've also added a default background colour to the canvas, leaving us with the following style.css file:
| 1. | body |
| 2. | { |
| + 3. | |
| 4. | background-color: #eee; |
| 5. | } |
| 6. | |
| + 7. | |
| + 8. | |
| + 9. | |
| + 10. | |
A default background colour on a canvas is just to help when things fail. As soon as we draw to our canvas, this setting colour will not be visible. However in the event that JavaScript fails or doesn't manage to draw to the canvas, setting a background colour helps show where the canvas is on the page. This is useful for debugging, and helps to indicate to users that something should be happening in this large void on their page, and perhaps prompts them to check their browser.
Starting WebGL
Now our canvas is positioned and styled, let's get on with actually using it in our JavaScript code.
To start off with, I'm going to declare two variables at the start of our main.js file.
I'm going to call these variables canvas and gl, and they will be used to keep track of the actual canvas itself (the HTML element), and the WebGL context - which will be used to do the actual WebGL calls.
These variables will be placed at the very top of our file:
| + 1. | |
| + 2. | |
Next, let's re-write the function to perform the actual initialisation of our page.
First off, we're going to need to get a handle to the canvas on our page.
We can search for the webgl-canvas ID we added earlier to the canvas using JavaScript's built in document.getElementById() function.
If you want to use an alternative to JavaScript's built-in functions like jQuery, go ahead. There's no problems to use it for the rest of the tutorials, but I've chosen not to use it for these lessons to keep the dependencies to a minimum.
| 1. | var canvas; |
| 2. | var gl; |
| 3. | |
| + 4. | |
| + 5. | |
| + 6. | |
| + 7. | |
| + 8. | |
| + 9. | |
| + 10. | |
| + 11. | |
| 12. | |
| 13. | ... |
We also perform a check that we found the canvas. If we are unable to find it for some reason, we show an error message to the user and return from the function, not proceeding any further.
Next, we need to initialise the WebGL context. You can think of a context as a running WebGL "instance".
We specifically request a WebGL version 2 context here, and again check the we received it OK:
| 9. | alert("Unable to get canvas!"); |
| 10. | return; |
| 11. | } |
| 12. | |
| + 13. | |
| + 14. | |
| + 15. | |
| + 16. | |
| + 17. | |
| + 18. | |
| 19. | |
| 20. | ... |
If we're unable to get the context, we really can't do much more, so again we show an error message and bail out of the initialisation function.
Assuming everything does work however, we can now make WebGL calls using the gl variable.
These functions will be run on the GPU, and displayed into our web browser!
Before finishing up our initialisation function though, let's actually make use of our new context.
For now, I'm going to set the clearColor variable for WebGL.
Every time we draw to our window, we want to make sure we are drawing to a blank canvas beforehand.
This function defines what the 'blank' canvas colour is for our window, and in this case we set it to a relaxing blue colour.
Again, feel free to play about with this if your style doesn't match mine!
| 16. | alert("Unable to initialise WebGL!"); |
| 17. | return; |
| 18. | } |
| 19. | |
| + 20. | |
| + 21. | |
| + 22. | |
| + 23. | |
These parameters to clearColor should be floating point numbers between zero and one, and correspond to the red, green, blue and alpha (transparency) channels that we will blank our window to.
For example, (0.0, 1.0, 0.0, 1.0) will set the red component to zero, the green component to one, and the blue component to zero, and alpha to one, so this will set the blank canvas to be an opaque shade of green.
The alpha value isn't exactly like a transparency property here. If the alpha value was not set to one, the RGB values would still make the blank canvas be green, as the alpha value is only used when performing blending. However the topic of blending is a little ahead of us right now, we'll cover it in a later tutorial.
With the clearColour set, that's pretty much our initialisation done for now.
We end the function by making a call to a draw function, which we'll write next.
For this lesson, our draw function is simply doing to clear the WebGL buffers:
| 22. | draw(); |
| 23. | } |
| 24. | |
| + 25. | |
| + 26. | |
| + 27. | |
| + 28. | |
When this function is run, it will clear the colour and depth buffers of our canvas. Clearing the colour buffer means resetting all the pixels to the 'blank' colour we defined a moment ago, so nothing from any previous draw calls can sneak into our new render. In effect, this will turn the canvas the blue colour we configured a moment ago.
The colour buffer contains the red, green and blue (RGB) information for each pixel in our window, and similarly the depth buffer contains information about how far away that pixel is from the camera in 3D space, which is important for making sure that objects which are closer to the camera are always drawn on top of objects further away, so we clear this buffer too.
These two flags are OR'd together, which allows us to pass multiple flags simultaneously to WebGL.
Conclusion
Our page now has a canvas element we can draw to, powered by WebGL. We've configured the default colour of our canvas, and made a single draw call, which for right now is simply clearing the buffers. In the next lesson, we'll build on this to make the page interactive with user inputs, and continuously re-draw the canvas, before actually doing some interesting drawing.
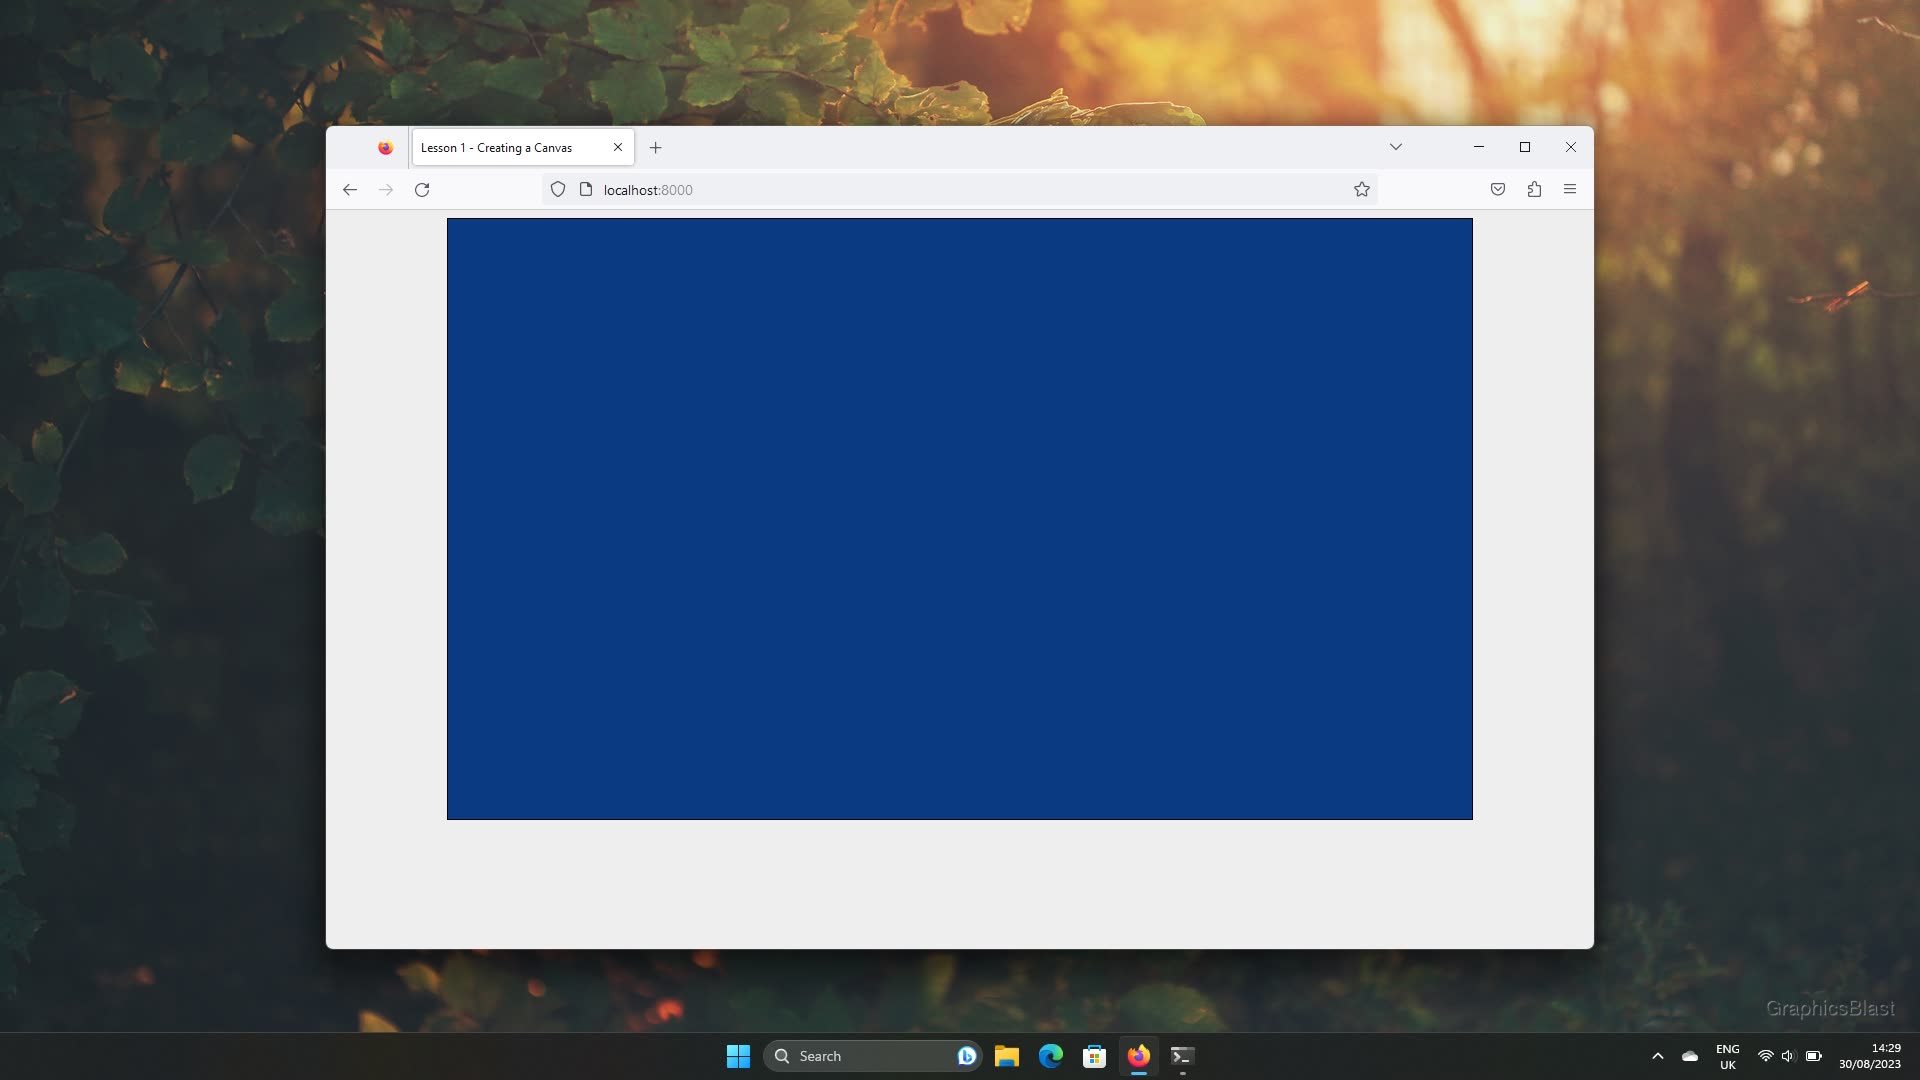
Anyway, that's our first WebGL program complete! Save your files and serve them using the same process as in the last lesson. You should now see a blue canvas in the middle of your page!
If you don't see any changes in your web page, it may be because your browser is caching your files from previously.
In that case you can try to perform a "hard-refresh", which forces the browser to get the latest version of the web page, and also the latest version of each linked file, for example scripts and stylesheets.
This can be done with either Ctrl+R in Chrome, or Ctrl+Shift+R in Firefox, or some similar combination for most other browsers.
Otherwise, double check the steps from the last lesson, or alternatively try my version of the code from below.
See you in the next lesson!