
Lesson 2: Becoming Interactive
Now we have a WebGL canvas on our web page, in this lesson we're going to look at making it interactive. Previously, we rendered (well, cleared...) the canvas just once when the page had loaded. But real-time graphics requires us to render repeatedly, fast enough that the series of images drawn to the canvas look to us like fluid motion.
In this lesson, we'll see how this can be achieved in a browser, and as part of making our canvas interactive, we'll also see how some simple user-input handling is performed.
Drawing
To construct a program which renders repeatedly, we'll create a new function called mainLoop:
| 44. | function draw() |
| 45. | { |
| 46. | gl.clear(gl.COLOR_BUFFER_BIT | gl.DEPTH_BUFFER_BIT); |
| 47. | } |
| 48. | |
| + 49. | |
| + 50. | |
| + 51. | |
| + 52. | |
| + 53. | |
The idea is that this function will be called from our initialise function, and then will continue to call itself over-and-over again.
Any functions we need to do repeatedly can then be called from this function.
For now, we're just going to call our draw function.
The last line of the function though is where the magic happens.
The function requestAnimationFrame() informs the browser that before the next screen update, we want the function mainLoop to be called.
Usually this is happening around 60 times per second, but varies by device.
Requesting an animation frame only requests a single frame though.
The browser will make a single call to whichever function we pass it, and that's it.
So by calling requestAnimationFrame from within our mainLoop function, we create a loop.
Each time the browser wants to refresh the screen, it calls our code, which finishes by registering itself to be called on the next update.
Note that for performance reasons, browsers don't update the screen for tabs that are in the background. This would kill battery life and give the CPU far too much work to do. If the user changes to a different tab in the browser, our loop will therefore be temporarily suspended until the user comes back to our page. This ordinarily won't be an issue, but if you are doing some network communication for example from this callback, it might be a cause of some stuttering. It's just something that's helpful to be aware of, and might save you some frantic hair-pulling during debugging.
So now we have a function which will loop itself and keep drawing to our canvas.
For the loop to start though, we mustn't forget to make the first call to it when we update our initialise function in a moment!
User Input
To capture user input for our canvas, we can register event listeners. When that particular action happens, such as pressing a key on the keyboard, the browser will call a function of our choosing, and pass in some additional information about what happened.
We're going to modify the end of our initialise function to bind some handler functions, handleKeyPressed and handleKeyReleased.
These functions will then be called when the user presses or releases a key on their keyboard.
| 20. | gl.clearColor(0.04, 0.23, 0.51, 1.0); |
| 21. | |
| + 22. | |
| + 23. | |
| + 24. | |
| + 25. | |
| 26. | } |
I'll just take a moment to remind you here that in JavaScript there are several ways to do add these event callbacks, but this is the recommended way.
Using canvas.addEventListener means just that, another event listener is added.
Alternative approaches like using canvas.onkeydown will overwrite all existing handlers, and are therefore considered bad practice.
Not only are there several ways to add the handlers here, but there are several things you can bind them to, depending on how you want your page to behave.
Here I'm listening for key presses and releases on the canvas element on our page.
The user might need to click on the canvas for it to become the active element on the page, at which point any time a key is pressed down or released, the handleKeyPressed or handleKeyReleased functions will be called.
Alternatively, you can bind them to the whole page by using document.addEventListener.
Anywhere on the page, if a key is pressed, you will know about it.
This can be useful in some circumstances, but can also be annoying to your users if they've scrolled way past your canvas but are still unknowingly interacting with it.
It really depends on your usage.
Also, I remembered to put the call to mainLoop at the end of our initialise function, to start our drawing loop!
Now, let's define the handleKeyPressed and handleKeyReleased functions:
| 25. | window.requestAnimationFrame(mainLoop); |
| 26. | } |
| 27. | |
| + 28. | |
| + 29. | |
| + 30. | |
| + 31. | |
| + 32. | |
| + 33. | |
| + 34. | |
| + 35. | |
| + 36. | |
| + 37. | |
| + 38. | |
| + 39. | |
| + 40. | |
| + 41. | |
| + 42. | |
| 43. | |
| 44. | function draw() |
| 45. | { |
There is nothing particularly exciting going on here right now, but we can build on these functions later.
In either event, I'm simply writing to the console which key was pressed and released.
The event.key property gives us a string representing the character of the key pressed, whereas event.code gives us one representing the key pressed.
For example, if I hold shift and press the key for the digit one, the event.key will be an exclamation mark, while the event.code will just be the number one.
Therefore you should consider whether you're more interested in the physical key on the keyboard or the semantic meaning when deciding which to use.
NOTE:
Other widely-used properties such as event.keyCode are deprecated, as they don't handle international keyboards well, and may be removed at some point in the future.
One more thing to consider is that this choice isn't purely affecting international keyboards.
It's not so common, but AZERTY keyboards do exist alongside the more common QWERTY keyboard layout.
Graphical programs commonly use the WASD keys to move around, but if the user has a non-standard keyboard which has the W key elsewhere, checking the semantic key name might cause them great difficulties and awkward controls, while the event.code would be fine.
Conversely, giving users instructions like "Press the 'f' key" should probably still represent the 'f' key on a non-standard keyboard.
So it's tricky.
I've added a few extra lines here to demonstrate detecting if a specific key was pressed.
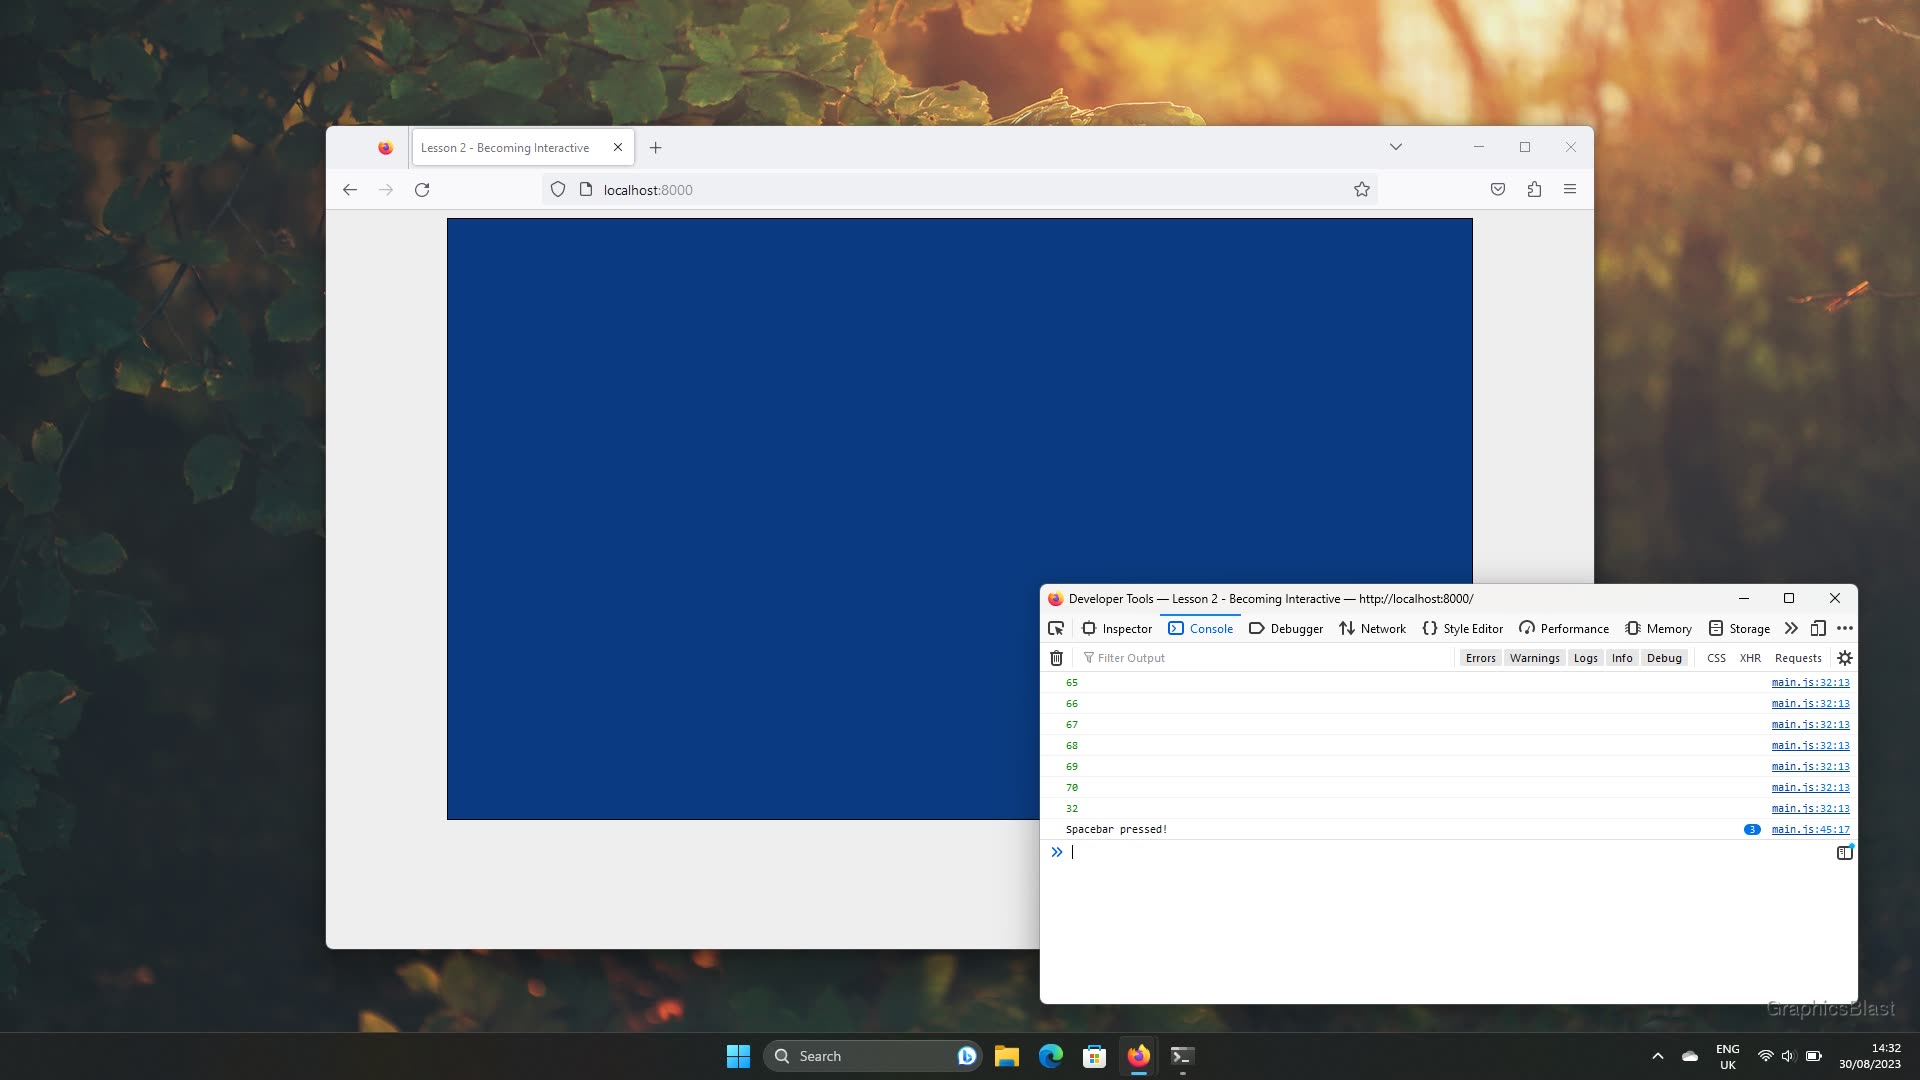
If a user presses the spacebar, I display a message in the console.
If you want to modify this to detect another key, the simplest way is to use the first console message to get the key in question's key or code property, and then just substitute this in here.
The event object also contains various other parameters which can be useful.
Normally, when a key is held down, after around a second the key press event will rapidly repeat to allow users to quickly repeat characters.
This can be detected using the event.repeat property, which will be true for every subsequent key press event.
You can use this to block user's from holding down a key to perform some event repetitively.
Likewise, event.shiftKey exists to tell you if shift was being held when the key was pressed, event.ctrlKey for the control key, and event.altKey for alt.
Anyway, with that we have a brief introduction to handling keyboard events, and we now have an interactive WebGL canvas! Remember to hard-refresh your browser if your have troubles seeing your keypresses appear in the console. Also remember that if you chose to bind you key handlers to the canvas rather than the whole page, you may need to actually click on the canvas before key presses will be registered.