
Lesson 1: Creating a Window
In this lesson, we will take our first step and get a window up on our screen! We'll cover initialising our libraries properly, creating a window with specific properties, and making sure the window closes gracefully when the program exits.
If you have any problems compiling or running the code for this tutorial, please double-check that the test at the end of the previous lesson worked properly!
Code Layout
You should generally aim to keep the int main() function and high-level logic of your programs as simple as possible.
In fact, simple enough to explain right here in a few paragraphs, which will hopefully help you see why I am laying this tutorial out as I am.
Our main function will start by initialising the program.
It will call an initialise function, and check whether everything started properly or not.
If this fails, there is really not much we can do, so we just terminate the program.
If the initialisation succeeds though, our main function will enter a loop, commonly known as the game-loop. Essentially it will keep continually performing three actions very common in general machine operations: input, process, and output.
The input step, as you can probably imagine, involves checking if the user pressed any buttons on the keyboard, moved the mouse, etc. This can also include perhaps less obvious things as well like the user clicking the close button or resizing a window.
Then, the second step, we perform any updates of our variables that we need to do: our processing. This is where we perform any simulations of any ongoing physics, update the positions of moving objects, etc.
Finally, the output step, which is primarily drawing graphics to our window, but can also include playing audio for example.
The input function can trigger us to break out of our game-loop, perhaps if the escape key is pressed. Regardless of what the trigger was, if our program has broken out of this loop, it is our cue to close the program. Therefore we end our main function with a call to a close function, which closes our libraries, frees any memory, etc.
Anyway that's the general idea! Our program will call an initialise function, then keep checking the input, updating itself, and drawing. When we need to close, our program will break out of this loop and then call a function to perform these actions.
Let's begin!
Headers and Declarations
Open your favourite text editor and create a file called main.cpp in your workspace.
Inside, we'll start our program of course by including the header files for the libraries we need:
| 1. | |
| 2. | |
| 3. | |
| 4. | |
| 5. | |
In general, it's good practice to include your header files in order of expanding scope. So first including any local headers, then library header files, and then finally system and langauge header files. This helps to highlight any dependency issues in our code, so we'll be following this practice for the rest of the tutorials.
As we have no local header files yet, we start by including our library headers. We include the main header file for the SDL library, and also SDL_main. The former declares the functions which belong to the SDL library, and therefore should be included anywhere you need to use SDL functions. The latter however should only be included in the C++ file which has your main function - no other files in your codebase.
This header file performs a bit of macro magic.
In most scenarios, your program actually begins by running a function which looks something like int main(...), known as the entry point.
However on some platforms this can vary.
For example Windows expects something like int WinMain(...) for graphical applications, but int main(...) otherwise, while Linux uses int main(...) for either scenario.
SDL takes care of all of this for us.
Including SDL_main.h ensures that no matter what kind of entry point a particular platform expects, we can always just write int main(...) in our source code, and it will compile anywhere.
For this reason, you should only include this header in the file where your entry point is, and your entry point must be exactly int main(int argc, char* argv[]), rather than void main() or int main() or some other variation.
While this is a bit unusual, it's a great feature for cross-platform coding!
After including SDL, we include the header file for GLEW, which makes all the OpenGL functions and data-types available to our code.
TIP: Should I also include SDL_opengl.h too? Some other online tutorials make the mistake of including this header along with GLEW. This SDL header is for SDL's alternative, simpler rendering API or for older OpenGL versions, and isn't necessarily targeting the latest OpenGL features like GLEW. Including both together will either cause compiler errors, or prevent you from using the latest OpenGL functions, depending on which you include first.
Finally we include stdio.h which ensures that we have access to the printf function.
Some compilers may allow you to get away without this line, but others do not.
So to ensure our code will compile anywhere without changes, we explicitly include this.
With the headers in place, let's set up some variables we will need later:
| 1. | #include <SDL3/SDL.h> |
| 2. | #include <SDL3/SDL_main.h> |
| 3. | #include <GL/glew.h> |
| 4. | |
| 5. | #include <stdio.h> |
| 6. | |
| + 7. | |
| + 8. | |
| 9. | |
| + 10. | |
| + 11. | |
| 12. |
The first two variables we declare here, windowWidth and windowHeight, are used for setting the size of the window that we will create, measured in pixels.
It's useful to have these variables stored somewhere as they can used for things like calculating the aspect ratio of the window, which we'll need in later tutorials.
The next two variables, window and context, are surprisingly enough for keeping a handle to our window on screen, and for the OpenGL context we will use.
You can think of a context as a running OpenGL "instance".
Initialisation
The first function we'll write will be...the initialisation code for our program!
We will define a function called init, which will return an bool indicating whether it succeeded starting the program properly or not.
Our init function starts like this:
| 10. | SDL_Window* window = NULL; |
| 11. | SDL_GLContext context = NULL; |
| 12. | |
| + 13. | |
| + 14. | |
| + 15. | |
| + 16. | |
| + 17. | |
| + 18. | |
| + 19. | |
| 20. | |
| 21. | ... |
The first thing our function does is to initialise the SDL modules we want with a call to SDL_Init.
For clarity, here is a list of all possible SDL modules:
SDL_INIT_TIMER- only necessary if you use alarms to control your program's timing, which we won't so we won't need this.SDL_INIT_AUDIO- the audio subsystem.SDL_INIT_VIDEO- initialises the video subsystem ie. for opening windows. Out of necessary it also starts the events subsystem.SDL_INIT_JOYSTICK- for interacting with joysticks. Also starts the events subsystem.SDL_INIT_HAPTIC- used for controlling haptic devices, ie. making controllers vibrate.SDL_INIT_GAMEPAD- for interacting with gamepads. Starts the joystick subsystem, which in turn also starts the events subsystem.SDL_INIT_EVENTS- used to get information about keypresses, mouse, etc.SDL_INIT_SENSOR- used for interacting with gyroscopes, accelerometers. Useful on phones.
So here in our code we've initialised the video subsystem, which also initialises the events subsystem.
For now, this is all we'll need.
If you want to initialse multiple of these (or even all of them), you can bitwise OR as many of them together as your like.
For example by calling SDL_Init(SDL_INIT_AUDIO | SDL_INIT_VIDEO).
There's no problem initialising everything, but we've just gone for the modules we'll actually use for now to keep our program lean. Note that in older versions of SDL, there was a flag to just initialise everything. This flag was probably abused by a lot of people who used it as a shortcut, but it has recently been removed I think probably to force people to actually think about what they need.
This call returns true on success, so we perform a check on the return value to see if anything bad happened while starting SDL.
If so, we print an error message along with the result of SDL_GetError, which may have more information about what went wrong.
But otherwise, we simply return straight away, there's no point carrying on if we can't even start SDL.
If SDL did initialise correctly, our code can continue and we can begin creating our window:
| 17. | printf("Unable to initialise SDL: %s\n", SDL_GetError()); |
| 18. | return -1; |
| 19. | } |
| 20. | |
| + 21. | |
| + 22. | |
| + 23. | |
The general idea is that we call SDL_CreateProperties to create a holding object to store our desired settings for our window.
Things like how big the window will be and where it will be positioned on the screen, if it can be maximised or minimised, etc.
Once we're happy, we then pass this structure back to SDL and it will create us a window with those properties.
To set the properties, we can use the functions SDL_SetStringProperty to set string-type variables, SDL_SetNumberProperty for numeric-types, and SDL_SetBooleanProperty for boolean-type settings.
There also exist a few more, like SDL_SetFloatProperty, but we won't be using them just yet.
We'll start by setting the title of the window, usually displayed at the top of the window and in the taskbar:
| 21. | SDL_PropertiesID properties = SDL_CreateProperties(); |
| 22. | |
| + 23. | |
| + 24. | |
Whether string, boolean, or numeric, the functions all have the same layout. You pass in the properties object we created which will have the setting written to it, then pass in the specific property you wish to change, and finally it's new value.
Let's set a few more variables for our window:
| 21. | SDL_PropertiesID properties = SDL_CreateProperties(); |
| 22. | |
| 23. | SDL_SetStringProperty(properties, SDL_PROP_WINDOW_CREATE_TITLE_STRING, "Lesson 01 - Creating a Window"); |
| + 24. | |
| + 25. | |
| + 26. | |
| + 27. | |
| + 28. | |
The first two calls we've added here define the x and y coordinates for where we want the window to be positioned on the screen.
The position is measured in pixels from the top left of the screen, passed as integers.
So if we passed 0 to both the x and y, then the top-left of our window would be positioned in the top left of the screen.
Here, we've used the special values of SDL_WINDOWPOS_UNDEFINED for the x and y coordinates, meaning we don't care, and that it's up to the operating system to choose where to place the window on the screen.
One other option worth mentioning here is that you can also pass SDL_WINDOWPOS_CENTERED for the x and y coordinates, to put the window right in the middle of the screen, which is great for splash-screens!
The next two parameters we set are for specifying the size of the window we want to create, again measured in pixels. We pass in the variables that we created earlier.
The last few properties I'm going to set for our window are boolean flags:
| 23. | SDL_SetStringProperty(properties, SDL_PROP_WINDOW_CREATE_TITLE_STRING, "Lesson 01 - Creating a Window"); |
| 24. | SDL_SetNumberProperty(properties, SDL_PROP_WINDOW_CREATE_X_NUMBER, SDL_WINDOWPOS_UNDEFINED); |
| 25. | SDL_SetNumberProperty(properties, SDL_PROP_WINDOW_CREATE_Y_NUMBER, SDL_WINDOWPOS_UNDEFINED); |
| 26. | SDL_SetNumberProperty(properties, SDL_PROP_WINDOW_CREATE_WIDTH_NUMBER, windowWidth); |
| 27. | SDL_SetNumberProperty(properties, SDL_PROP_WINDOW_CREATE_HEIGHT_NUMBER, windowHeight); |
| + 28. | |
| + 29. | |
| + 30. | |
| + 31. | |
SDL_WINDOW_FULLSCREEN- the window will start fullscreenedSDL_WINDOW_BORDERLESS- no border or buttons around the window, useful for splash screens!SDL_WINDOW_ALWAYS_ON_TOP- the window will always be on top of others, good for pop-upsSDL_WINDOW_MAXIMIZED- the window will be maximised once it's been created, useful for windows that need a lot of spaceSDL_WINDOW_MINIMIZED- the window will be minimised after being createdSDL_WINDOW_HIDDEN- the window will not be shown on the screen or in the taskbar after being created
I would encourage you to play about with some of these and see the effect it has on our window. There are other flags too, but those listed above are generally the most important. You can find a full list here at the SDL wiki.
I think it's worth mentioning at this point that these options for window creation are requests. The nice thing about SDL is that this code will compile and run on many different operating systems without changes to the code, however each system works slightly differently. SDL will try its best to give you what you ask for, and you will almost certainly get it, but there is no guarantee and the operating system might just decide to place your window where it likes or force some minimum or maximum window sizes on you.
With our window properties set, we also need to tell SDL which version of OpenGL we want the window to be set up for before we open the window:
| 28. | SDL_SetBooleanProperty(properties, SDL_PROP_WINDOW_CREATE_OPENGL_BOOLEAN, true); |
| 29. | SDL_SetBooleanProperty(properties, SDL_PROP_WINDOW_CREATE_RESIZABLE_BOOLEAN, true); |
| 30. | |
| + 31. | |
| + 32. | |
| + 33. | |
| + 34. | |
| + 35. | |
In this case, I ask for version 4.6, the most current version as of writing (2026). I want to stress the word "want", because again this is just a request. The GPU driver will try give you the version you ask for, but if the code is running on an older system that doesn't support it, you might receive a different version. We'll perform a check of exactly which OpenGL version we received later on.
Besides setting the OpenGL version, we also set the OpenGL profile. The profile can be one of several possible values, usually either a core profile, a compatibility profile, or a debug profile. The compatibility profile is essentially for running older OpenGL functions on a newer version, while the debug profile runs a fair bit slower but can provide certain features useful for debugging. However, as we are writing clean new code, we will go for the core profile.
After setting these properties, we can then actually create our window on the desktop:
| 32. | SDL_GL_SetAttribute(SDL_GL_CONTEXT_MINOR_VERSION, 6); |
| 33. | SDL_GL_SetAttribute(SDL_GL_CONTEXT_PROFILE_MASK, SDL_GL_CONTEXT_PROFILE_CORE); |
| 34. | |
| + 35. | |
| + 36. | |
| + 37. | |
| + 38. | |
| + 39. | |
| + 40. | |
| + 41. | |
| 42. | |
| 43. | ... |
We make a call to SDL_CreateWindowWithProperties passing in our properties, and our window should now be visible at this point in the code!
The function returns a pointer to an SDL window data structure, which we store in our window variable from the beginning.
With our window now created, we should call SDL_DestroyProperties to destroy the properties and ensure any memory associated with these settings is freed as we'll no longer need it.
If a problem occurred during the creation of the window, the returned window pointer will be NULL, so we can again perform a check for this and if it did fail, print an error message and return from our function.
Next we'll get OpenGL up and running:
| 39. | printf("Unable to create a window: %s\n", SDL_GetError()); |
| 40. | return false; |
| 41. | } |
| 42. | |
| + 43. | |
| + 44. | |
| + 45. | |
| + 46. | |
| + 47. | |
| + 48. | |
| + 49. | |
| + 50. | |
| + 51. | |
| + 52. | |
| + 53. | |
| + 54. | |
| + 55. | |
| 56. | |
| 57. | ... |
Fortunately, this is quite easy! We make a call to SDL to create an OpenGL context, giving it the window that it will be bound to, and SDL will take care of the rest. Remember you can think of an OpenGL context as a kind of "running instance" of OpenGL. So any OpenGL state variables you set for example will apply within the current context.
The window is passed in during context creation as it gives the GPU a lot of relevant optimisation information about how the program will run, for example which screen will be rendered too. Again this will return NULL if an error occurs, so we perform a check that everything worked.
With an OpenGL context in place, we also need to initialise the GLEW library. Initialising the library essentially points all our OpenGL function calls to the part of the GPU driver which implements them. It's a simple one line process (well...6 with error checking), but without it, we would need to manually check and link each of the thousands of OpenGL calls we might use!
There are a few small differences worth noting as GLEW is a separate library to SDL, for example comparing the return value to GLEW_OK rather than checking if it returned NULL, and calling glewGetErrorString instead of SDL_GetError, which also needs to take the error as a parameter.
But besides these small differences, we're using the same logic here.
At this point, we have all our libraries initialised properly, and a window on screen. We can now perform that check we talked about earlier to see which version OpenGL we were given when we created our OpenGL context:
| 53. | printf("Unable to initialise GLEW: %s\n", glewGetErrorString(glewError)); |
| 54. | return false; |
| 55. | } |
| 56. | |
| + 57. | |
| + 58. | |
| + 59. | |
| + 60. | |
| + 61. | |
| + 62. | |
| + 63. | |
| + 64. | |
| + 65. | |
| 66. | |
| 67. | ... |
To get the actual OpenGL version in use, we create two integers to hold the major and minor version numbers.
We can then pass the address of each of these in to SDL's SDL_GL_GetAttribute function, the reciprocal of the SDL_GL_SetAttribute functions we used earlier.
SDL then sets these variables to the attributes requested.
As these tutorials have been written to show you modern techniques, we will need a minimum OpenGL version of at least 4.6 - the most recent version - which we perform a check for. This shouldn't be too problematic though, as this version should still work on hardware that is many years old!
The final line here prints the full OpenGL version currently in use, which generally includes slightly more debug information than simply the major and minor version number. This may be useful for you if later on you want to see which features are available on your machine or for diagnosing problems, but if not you can remove this line.
We can now finish off our init function:
| 65. | printf("%s\n", glGetString(GL_VERSION)); |
| 66. | |
| + 67. | |
| + 68. | |
| + 69. | |
| + 70. | |
We conclude by setting OpenGL's glClearColor values.
Every time we draw to our window, we want to make sure we are drawing to a blank canvas beforehand.
This function defines what the 'blank' canvas colour is for our window, and in this case we set it to a relaxing blue colour.
Again, feel free to play about with this if your style doesn't match mine!
These parameters should be floating point numbers between zero and one, and correspond to the red, green, blue and alpha (transparency) channels that we will blank our window to.
For example, (0.0f, 1.0f, 0.0f, 1.0f) will set the red component to zero, the green component to one, and the blue component to zero, and alpha to one, so this will set the blank canvas to be an opaque shade of green.
The alpha value isn't exactly like a transparency property here. If the alpha value was not set to one, the RGB values would still make the blank canvas be green, as the alpha value is only used when performing blending. However the topic of blending is a little ahead of us right now, so I'll just say for now you should always set it to a value of one, and we'll cover blending in a later tutorial.
If our program has reached this point, then everything in our init function has completed without issue, so we can return true to indicate the we have successfully initialised our program.
Terminating
A good coding habit that hopefully you're already of aware of is that whenever you create something, you should immediately afterwards plan its destruction.
Let's write the close function of our program.
Fortunately, this is much simpler:
| + 72. | |
| + 73. | |
| + 74. | |
| + 75. | |
| + 76. | |
| + 77. | |
To make sure all the memory is freed correctly, the order of this function should in general be the reverse of the order that objects were created in in the init function.
We didn't allocate any memory ourselves, so for now this function just closes all the libraries we initialised.
The GLEW library was started last, so we would start with closing that first, however this library does not need to be explicitly closed.
The OpenGL context however does.
The window also needs to be closed before our program terminates, and then SDL library itself should be closed.
The nice thing about these functions are that they are safe to call at any time.
So if our init function failed somewhere and returned early, we can still call this function to close our program gracefully.
If our program never got to the point of creating a context for example, the context variable will still be null from it's declaration, and calling SDL_GL_DestroyContext on null is completely fine.
The same applies for the window, and even for SDL_Quit too, which is safe to call even if our program failed to initialise.
So we can always just call this function right before our program terminates.
Input, Process, Output
To keep this tutorial reasonably short, I'm not going to define a full game-loop in this lesson. We'll do that in the next lesson. Instead, we will define a trivial draw function which we will just call once before quitting, so that we can see our window actually do something:
| + 79. | |
| + 80. | |
| + 81. | |
| + 82. | |
| + 83. | |
We tell OpenGL to clear it's colour buffer and depth buffer using glClear.
Clearing the colour buffer means resetting all the pixels to the 'blank' colour we defined before, so nothing from any previous draw calls can sneak into our new render.
The colour buffer contains the red, green and blue (RGB) information for each pixel in our window, and similarly the depth buffer contains information about how far away that pixel is from the camera in 3D space. This is important for making sure that objects which are closer to the camera are always drawn on top of objects further away, so we clear this buffer too.
We then make a call to SDL_GL_SwapWindow().
This function takes the buffer OpenGL has been rendering to (now blue from the glClear call) and swaps it with the window's buffer, effectively making our rendered image appear on the window on screen.
The reason this step is necessary is that OpenGL does not draw directly to our window. If it did, our program may be halfway through drawing the scene when a screen refresh occurs. This would create all sorts of nasty artefacts visible to the user as the state of drawing would be undetermined and likely unfinished at any given moment.
Therefore instead, OpenGL draws to a non-visible buffer, and when our code has finished rendering the scene, we swap buffers with the window. The window displays the complete rendered image, and OpenGL can then begin rendering the next frame to the old buffer which was previously being displayed by the window. Should a screen refresh happen, the buffer in the window, and therefore visible to users, will always be fully rendered. This technique is known as double buffering and explains the presence of the word "swap" in the function name.
Main function
With a trivial draw function in place, we can define a main function to call all the functions we've just defined in the right order:
| + 85. | |
| + 86. | |
| + 87. | |
| + 88. | |
| + 89. | |
| + 90. | |
| + 91. | |
| + 92. | |
| + 93. | |
| + 94. | |
| + 95. | |
| + 96. | |
| + 97. | |
| + 98. | |
| + 99. | |
Our program starts by making a call to the initialisation function.
If it returns false because something failed, then we make a call to close to make sure everything is cleaned up properly before terminating our program.
Remember our close function is safe to call even if not everything was initialised correctly!
Otherwise if we started OK, the code will continue.
We make a call to our draw function, which will blank our window to a blue colour, and then wait for two seconds (2000ms) so we have a chance to see it.
Note that we use SDL_Delay rather than more common delay or sleep functions that you may already be familiar with as it gives a cross-platform safe implementation.
Then our program closes everything and exits.
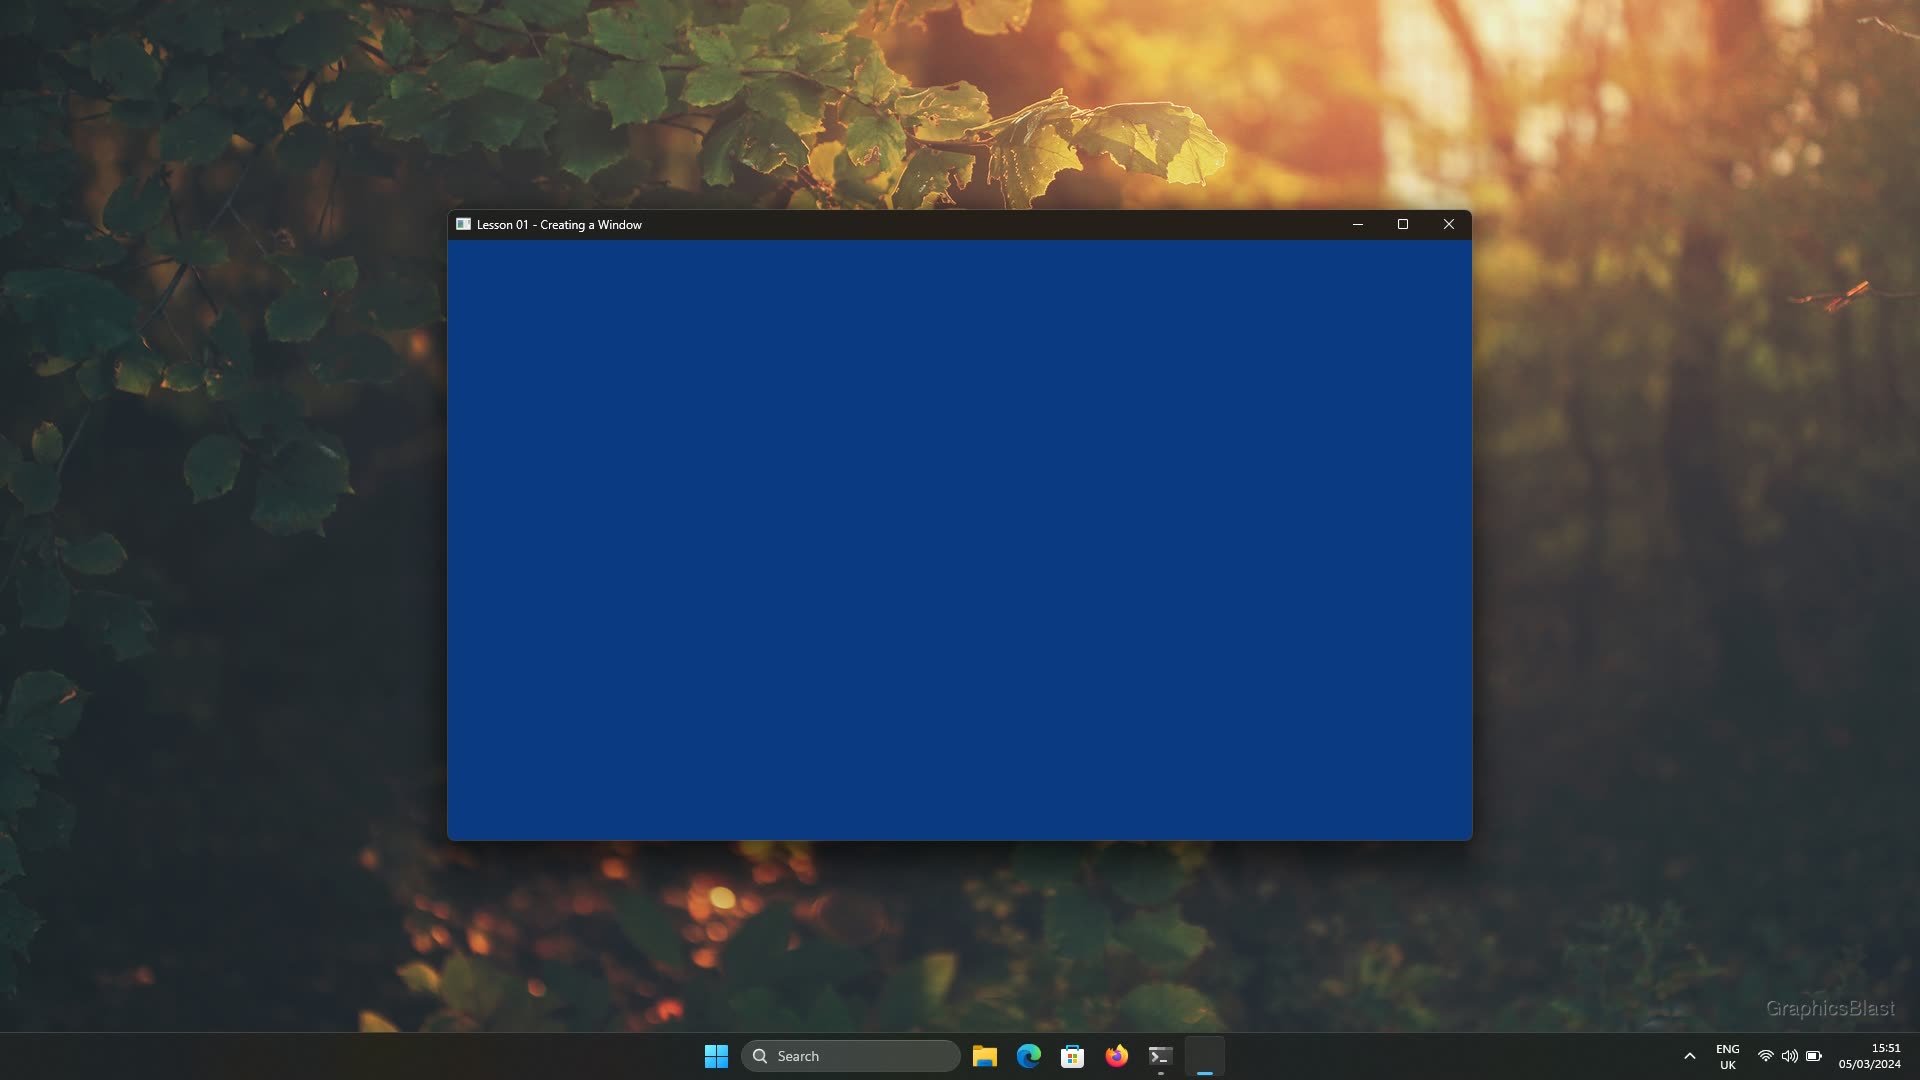
And that's our first SDL OpenGL program finished! Compile and run it using the same process as the last lesson, and you should see a nice blue window appear on screen, and close itself after two seconds.
Again, if you have any troubles compiling or running the code, it's very likely an issue with either the libraries installed or the compiling process. Double check both of these, make sure the previous lesson works, and consider trying with my version of the code available below!